1. Prepare the Base
Grind 310 grams of Oreo cookies in a food processor. Melt 100 grams of unsalted butter in a saucepan. Then add the ground Oreos to the melted butter, along with a pinch of salt. Mix well.
Scoop the mixture into a 24 cm (9″) diameter baking tin or adjustable baking ring. Using the back of a spoon or a flat-bottomed glass, press the mixture firmly into the bottom of the tin. Transfer the base to the fridge to chill until the filling is ready.
2. Melt the Chocolate
In a suitable heatproof bowl, combine 180 grams of roughly chopped white chocolate and 1 teaspoon of coconut oil. Place the bowl over the hot water bath, making sure the bottom doesn’t touch the water. Slowly melt the chocolate over low heat, stirring occasionally, until smooth. Let it cool slightly.
3. Dissolve the Gelatin
Prepare the gelatin powder according to the package directions. (If you’re curious about how to properly bloom gelatin, here’s a helpful guide on gelatin basics.)
Add the dissolved gelatin to the slightly cooled melted chocolate and whisk well. Set aside.
4. Whip the Cream
In a mixing bowl, using a hand mixer, beat 400 millilitres of whipping cream until it begins to thicken and form soft peaks.
Fold a few spoonfuls of whipped cream into the white chocolate to lighten it. Then gently fold the rest of the whipped cream in until just combined.
Fold in 12 roughly chopped Oreo cookies — keep the chunks large for a satisfying bite.
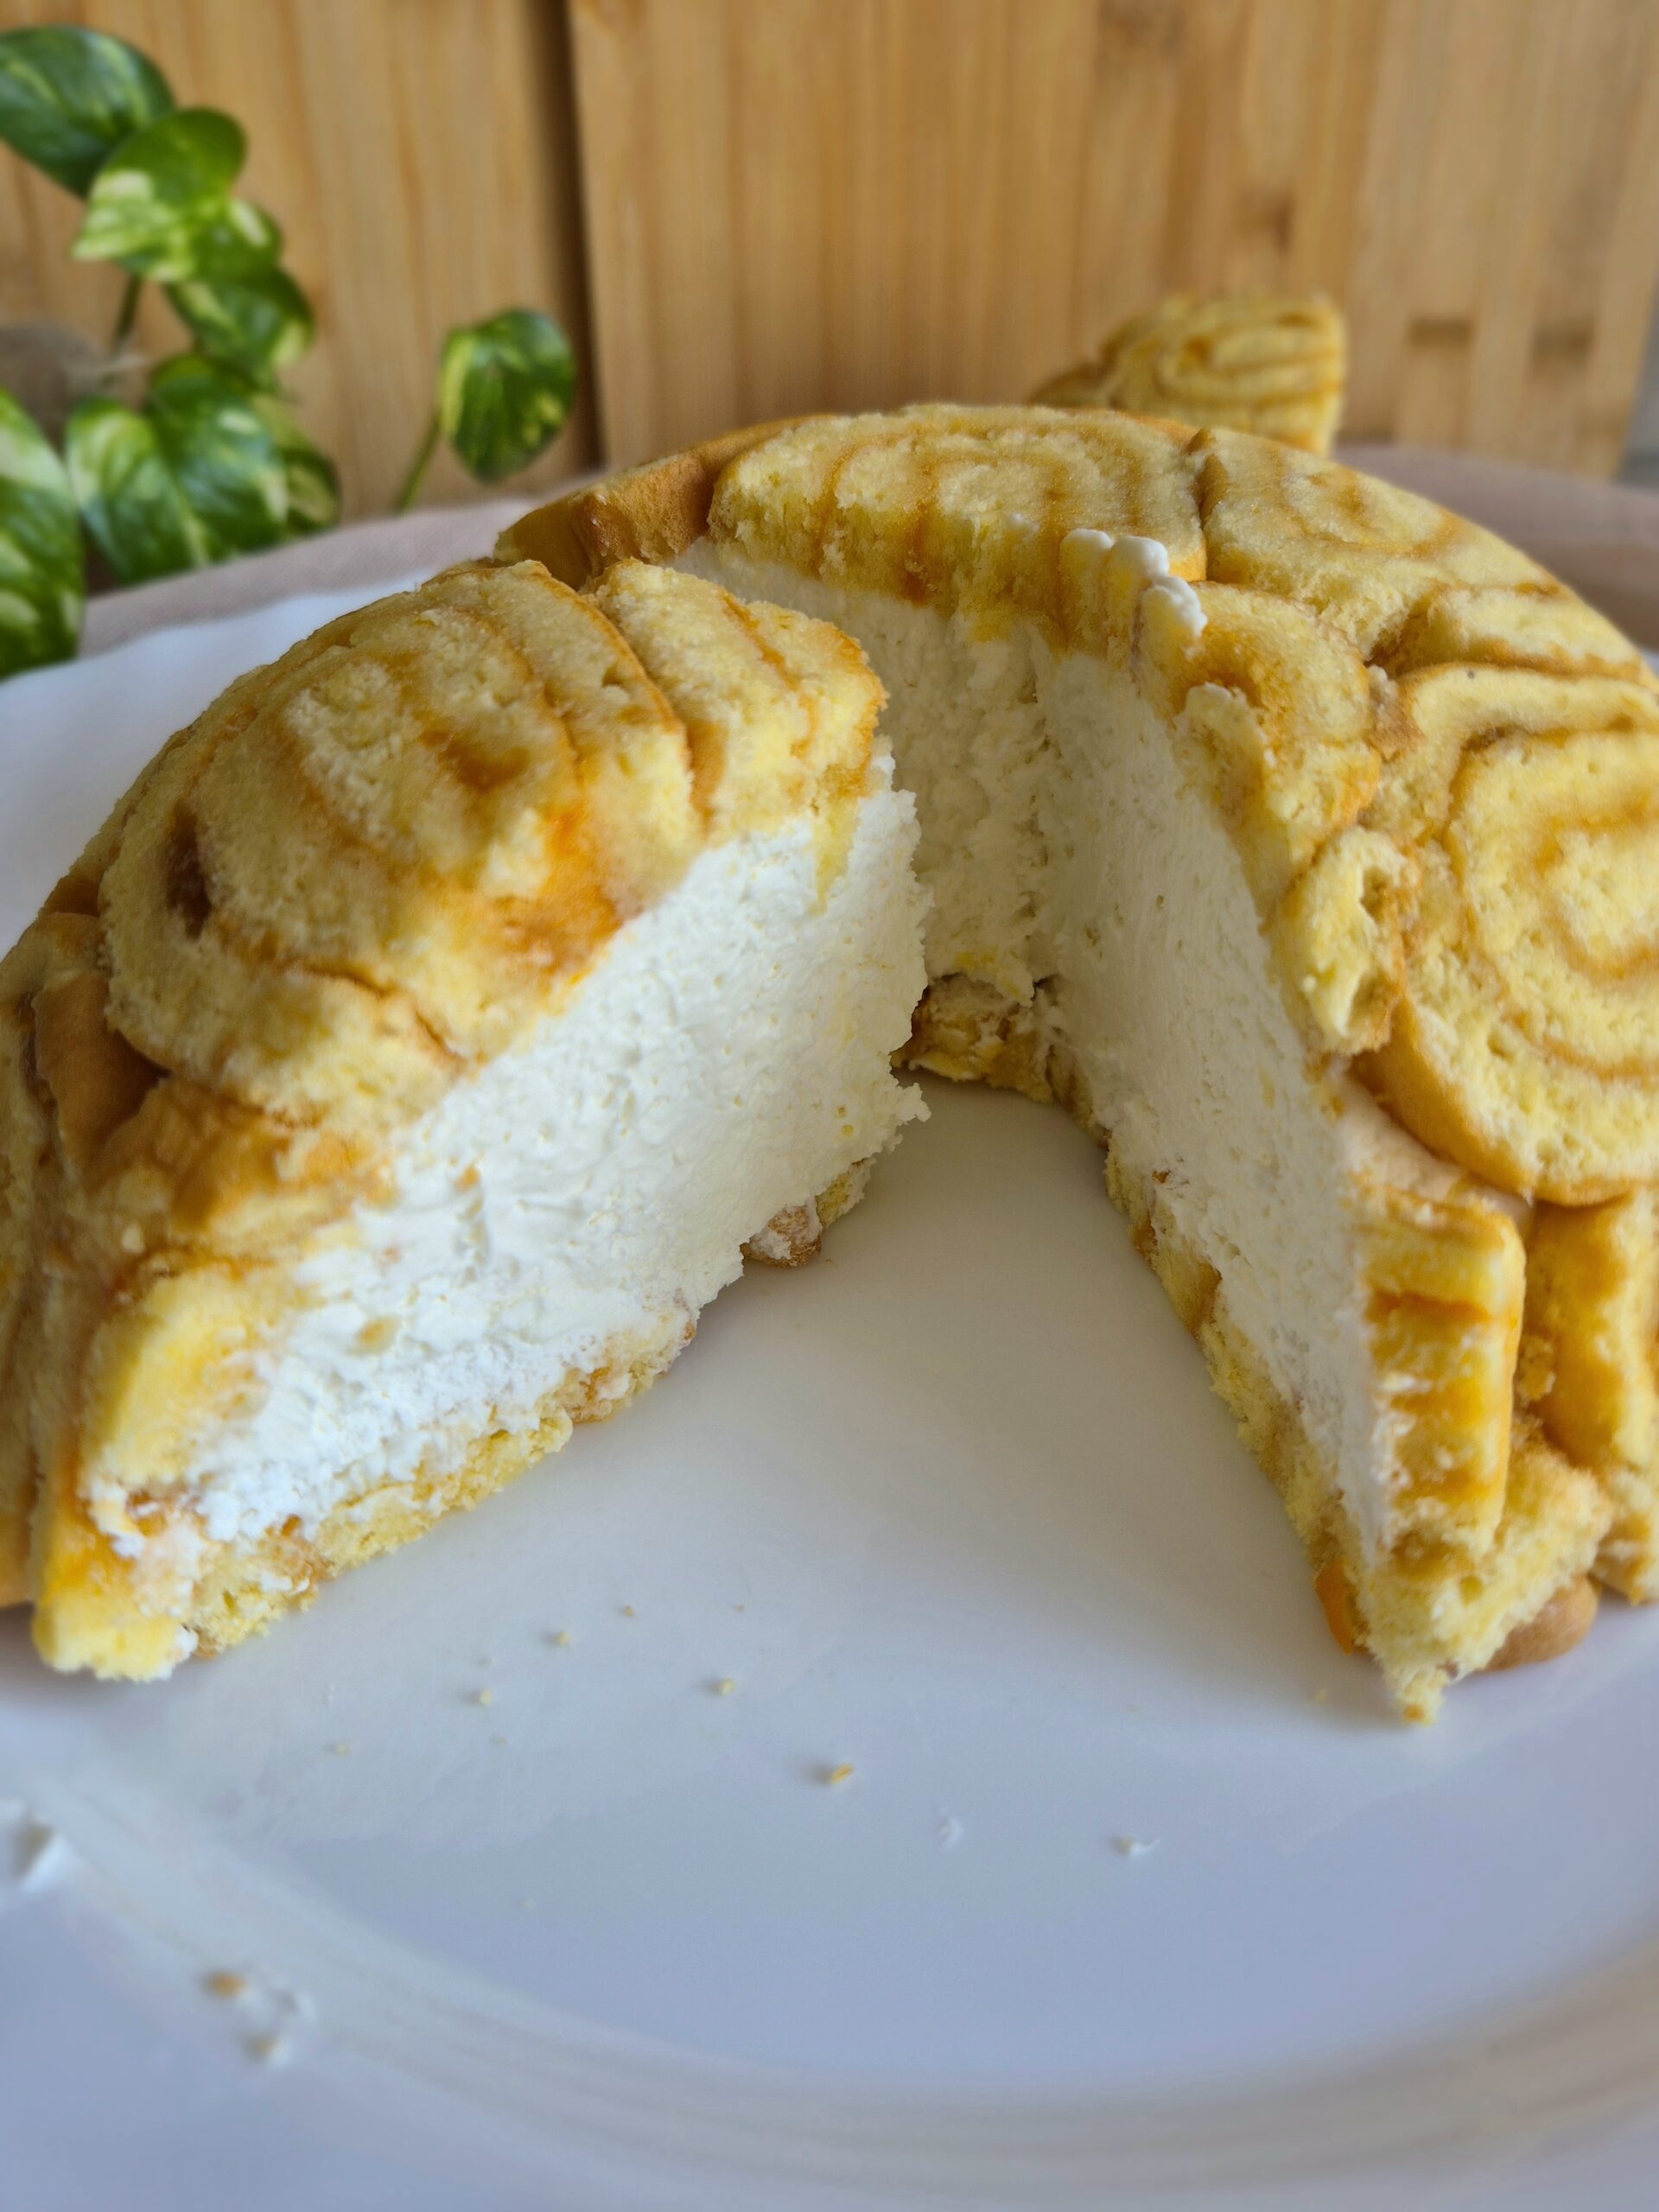
5. Assemble the Cake
Take the cake base out of the fridge, pour in the filling, and smooth it out. Grind four Oreo cookies in a food processor and sprinkle them over the top.
6. Serve
Allow the cake to rest in the refrigerator for at least 5 hours or overnight, until fully set.
Remove the cake from the fridge 20–30 minutes before serving to take the chill out. Run a warm knife along the edge before removing the springform ring.
For clean cuts, slice with a warm knife and enjoy.
Keep the cake covered in the refrigerator for up to 4 days.
This cake is not freezer-friendly due to the whipped cream and gelatin — it’s best enjoyed fresh from the fridge.
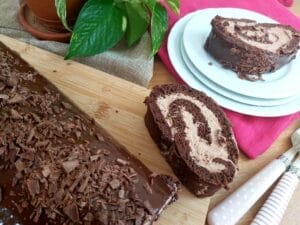
Related Recipes
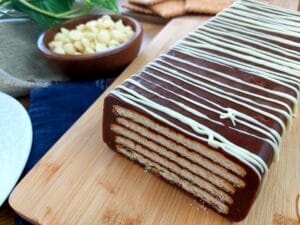
No-Bake Chocolate Biscuit Cake

There’s beauty in simple recipes — especially the ones that don’t ask much from us but give so much in return. This Oreo cake is exactly that kind of dessert. With just a few ingredients and no baking at all, you can create something that feels a little special. Bookmark it, save it for later, and come back to it whenever you need a quick win.


Comments